The best rides are the ones where you bite off
much more than you can chew, and live through it.
– Doug Bradbury
You have decided to push your limits and crush the big “two hundred”? I congratulate you in advance on your courage! You should know that great satisfaction awaits you and that, once you have done it, the idea of riding for so long simply becomes “normal” and you will always be able to repeat such a challenge – and you will want to climb to the next step. In addition, mastering such endeavors will reflect on other aspects of your life, because you will have the will and courage to do much more than you think you can. It sounds strange, but it is human nature to push the boundaries of the possible – sometimes we just need to remind ourselves of it.
I can and I will
People generally do not know what they are capable of achieving until they try to do something beyond their capabilities, that is, what they think is their maximum reach. But also, most people rarely try to achieve something that puts them out of their comfort zone, unless they find themselves in such a situation. When you finish reading this marathon text, you may ask yourself: “Do I really need this in my life?!”, but you should know that with this article I wanted to illustrate what a beginner brevet rider can expect at the first participation and how to adequately prepare for a ride like this, so that there are no unpleasant surprises – and I didn’t want to make the ride sound harder than it is or to deter you from trying. Even if you already have some experience in riding ultradistance and brevet rides, there is always room for improvement and I believe that some of the information and tips listed in this article will be of help to you.
After this motivational, almost sectarian introduction :), let’s jump directly to the topic in question – crossing 200 km by bike in a day, especially if the terrain is hilly, to many people sounds really impressive and to some it even seems impossible. No, I’m not going to say it’s a small thing and it’s easy, because it’s not :). But – if you were afraid of breaking sweat, you probably wouldn’t even be interested in cycling. However, I have a surprise or great news for you – if you have enough stamina to be able to spend a few hours riding a bike and if you have enough strength to overcome regular climbs found on normal roads – then you will be able to successfully do a 200 km ride as well! It is “only” required that you are able to sit on a bike for long enough and to adequately compensate for calories and lost fluid.
So if you can do a “hundred”, you’ll be able to do a “two hundred”, but I also know a lot of people who just didn’t practice riding longer than 60-70 km, before successfully attempting to cover a distance of 200 km… and some of them shortly afterwards even rode a 1200 km distance brevet! Of course, that doesn’t mean you can simply jump on any bike without any preparation and expect it all to look like you’re sitting at home in an armchair and watching TV.
First things first – you need a bicycle
Very ingenious conclusion, isn’t it? However, we need to clarify some things. You can ride brevets on all types of bicycles powered by your muscles and without additional assistance, but the vast majority of riders use road bicycles, which is quite logical. Apart from road bicycles, you can also ride brevet events on various trekking or hybrid bikes, on a mountain bike (do it with locked shock absorbers and on slick tires, for the love of God :)) and even on recumbents.
However, it is an imperative to keep the bike in excellent technical condition and with good tires and that you can spend ten or more hours riding it – so you will also need a proper bike-fitting, as well as a suitable saddle. In addition, you must be equipped with at least one spare tire, with accompanying tools and a hand pump. The rules of riding brevets also require you to carry a headlight and a rear light of some type. Since you probably won’t be doing a lot of riding in the dark on a typical 200 km brevet, most headlights will serve a purpose and the same goes for rear lights.
Clothing and additional equipment
Anyone reading this will find it quite logical and expected that during this kind of a ride a lot of time is spent sitting on you bottom. However, many people underestimate the importance of having comfortable clothes, especially cycling shorts with quality padding. And the rest of the clothing should also be suited to the purpose and not have the main role of serving as a parachute in the wind. Given the different weather conditions in which brevet rides take place, as well as the temperature range during the riding period, you may need to carry additional pieces of clothing – sleeves, socks, vest, long-sleeved thermal shirt etc. In any case, the main rule is to dress layered, so that you can remove or add them as needed and thus always maintain optimal body temperature. Of course, riding in cycling shoes as compared to ordinary sneakers contributes a lot to the efficiency of pedaling.
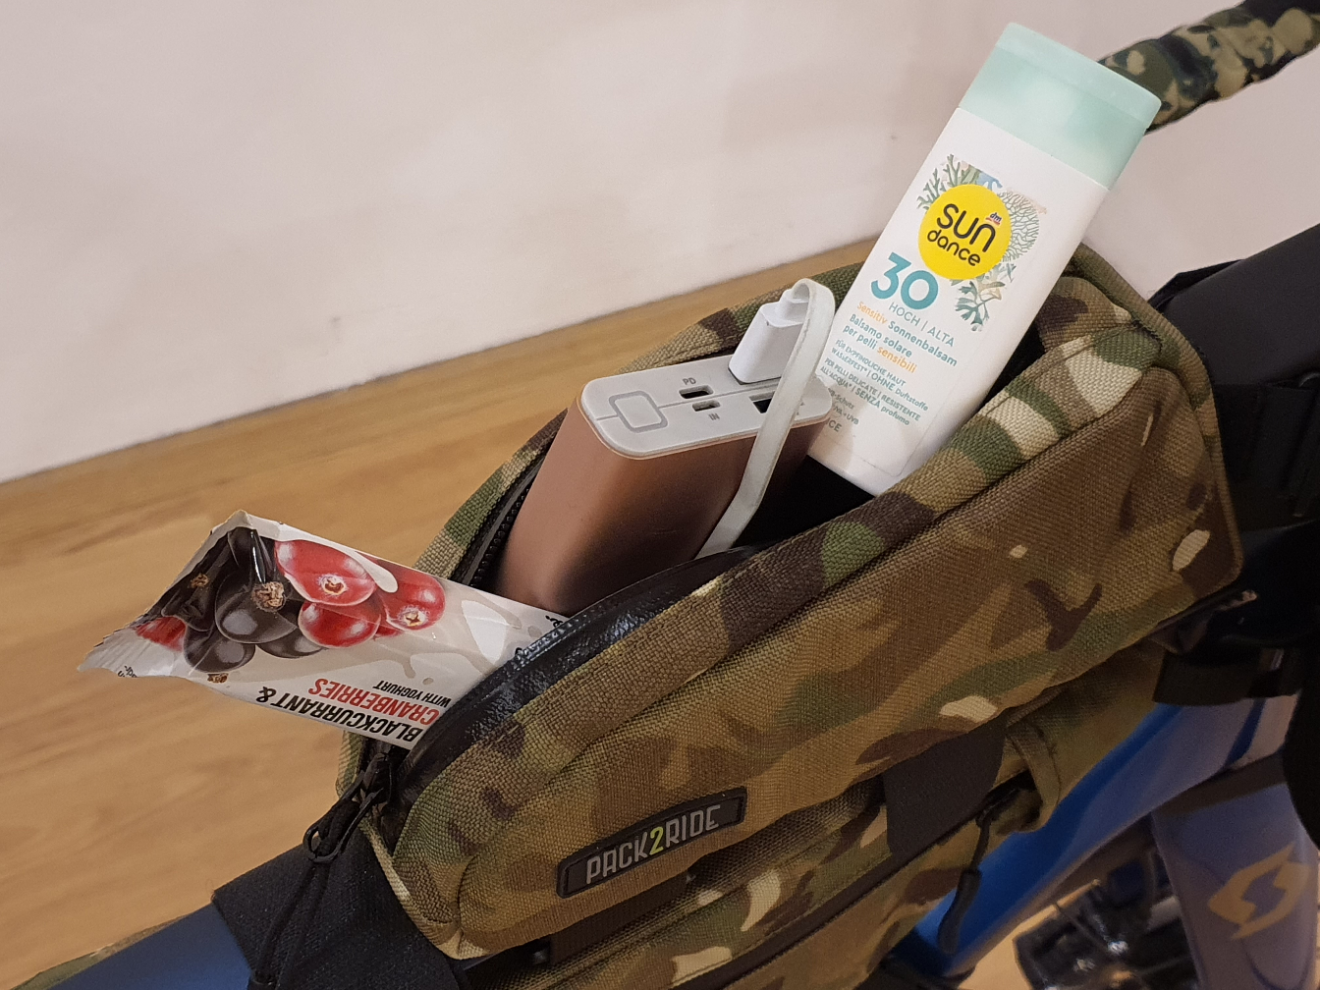
Given the length of a ride, you may need an external battery / charger for your GPS device and phone and you will always want to have enough food with you, even though you will probably be able to buy some groceries along the way. When we add a brevet card and the aforementioned additional clothes to this list, there is a need for additional “cargo space” on the bike, as compared to only having the standard three pockets on the jersey. You can use a backpack but it can do you more harm than good. Fortunately, there are a handful of specially designed bikepacking bags, of which the basic and most practical is a top tube bag. You can put a phone, an external battery, a brevet card and a couple of protein bars and similar things in this bag, which will leave you with enough space in the pockets of your jersey for extra clothes, bananas, a sandwich and more protein bars.
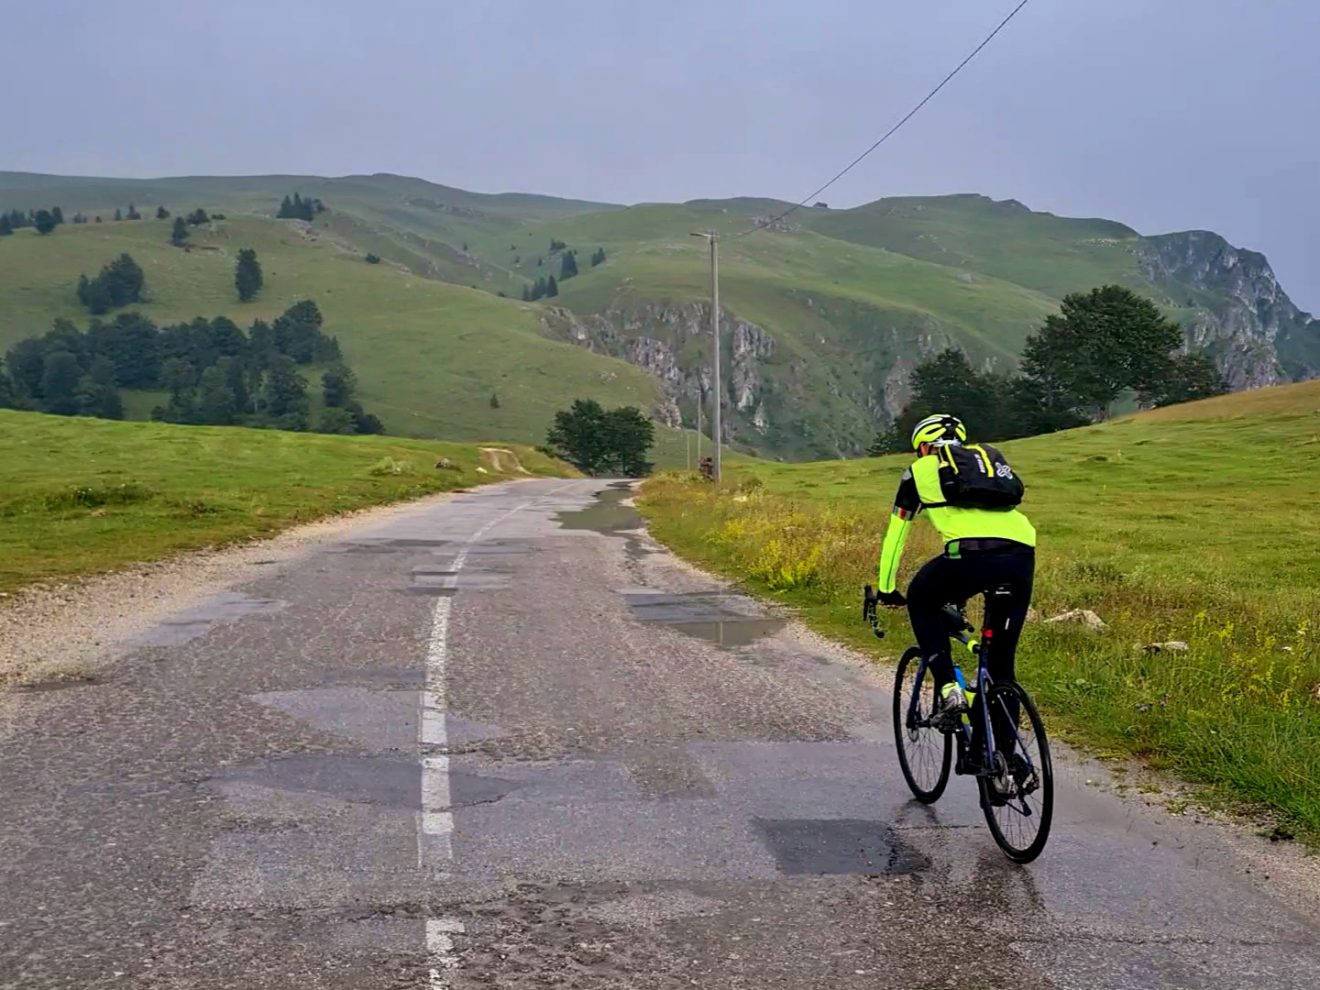
A state of mind
As I mentioned in previous articles, riding an ultradistance ride is as demanding mentally as it is physically, both because of what you know awaits you (length and route profile) and also due to things you didn’t expect (headwind when you least need it, technical problems, wrong turns, etc.), plus general fatigue created by such a long physical exertion. And if you let your blood sugar drop or you become dehydrated – you will find yourself in serious trouble!
Fortunately, there are some perks when it comes to riding a brevet, as compared to a random long-distance ride. First of all, when you have a set route, a plan and a brevet card that you need to fill out, it is much easier to focus on the goal you need to achieve – you are practically on a mission, so all the roads you ride on feel as if they are laid down just for you. Also, control points play an important role in the riding process, because they allow you to divide the ride into several segments. So, don’t constantly look at your speedometer or a GPS device and don’t just focus yourself on the fact that you have 199 km left, then 198 km and so on, but try to ride those 50 kms to the next control point, “reset” when you get there, focus on the next one and move on. Of course, don’t ride as if every control point is the end of the ride either :).
As I mentioned, there’s a number of unexpected obstacles that rise upon you, which affect the psyche even worse than the muscles. Eg. if you leave the route by mistake and you need to backtrack – you will spend some extra energy, but you can easily get annoyed and allow your concentration to drop even further and this always leads to more issues. Or a common occurrence – you ride a good part of the day with headwind and expect to have tailwind when you change the general direction of travel on a circular route – but the headwind actually persists and even increases in intensity. At these moments, you can simply break down due to such “injustice”, of course accompanied by additional fatigue that the wind has already caused to that point.
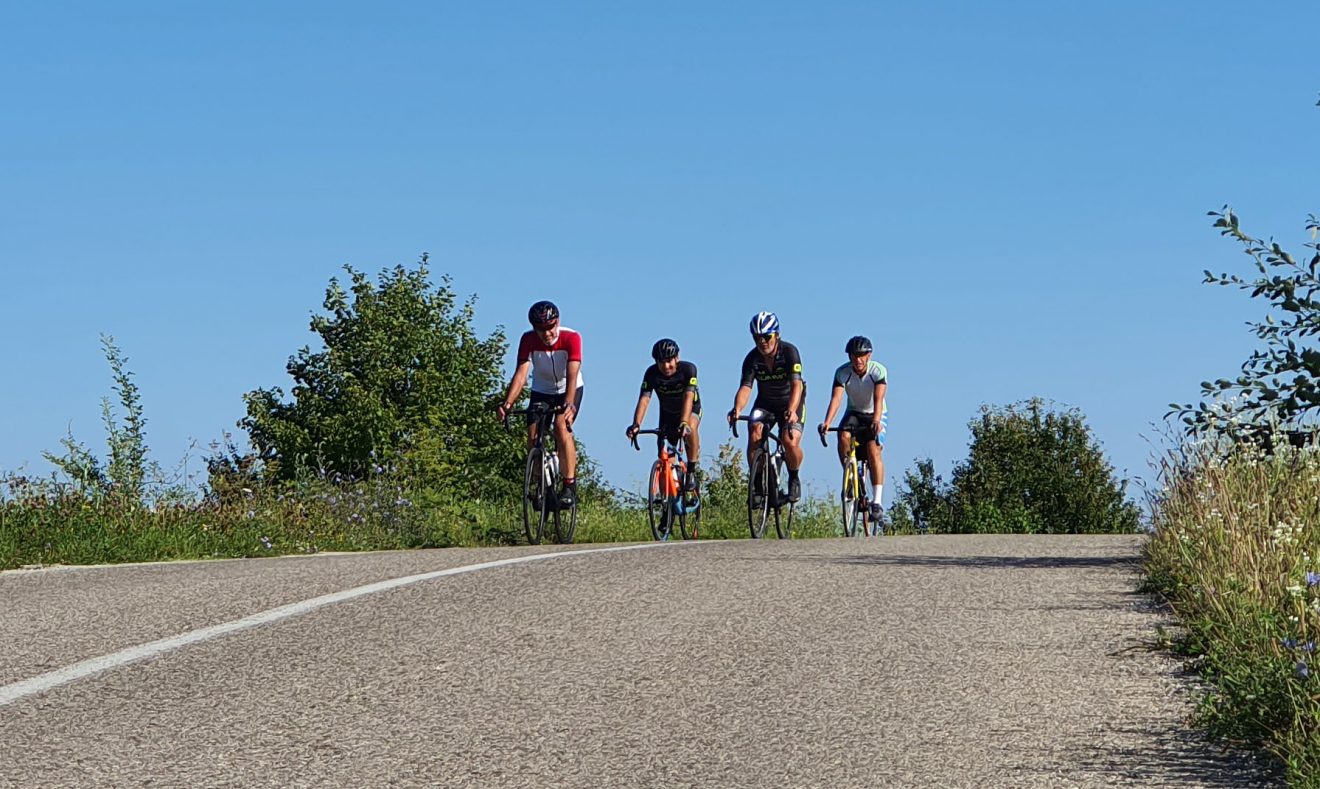
Again, one of the mitigating circumstances is that it is possible to find riders or groups of riders riding at the pace that suits your riding, so it is also possible to share work at the head of the group and it is definitely easier to overcome moments of crisis when you are riding together with someone. If nothing else, at least your time will “pass faster”.
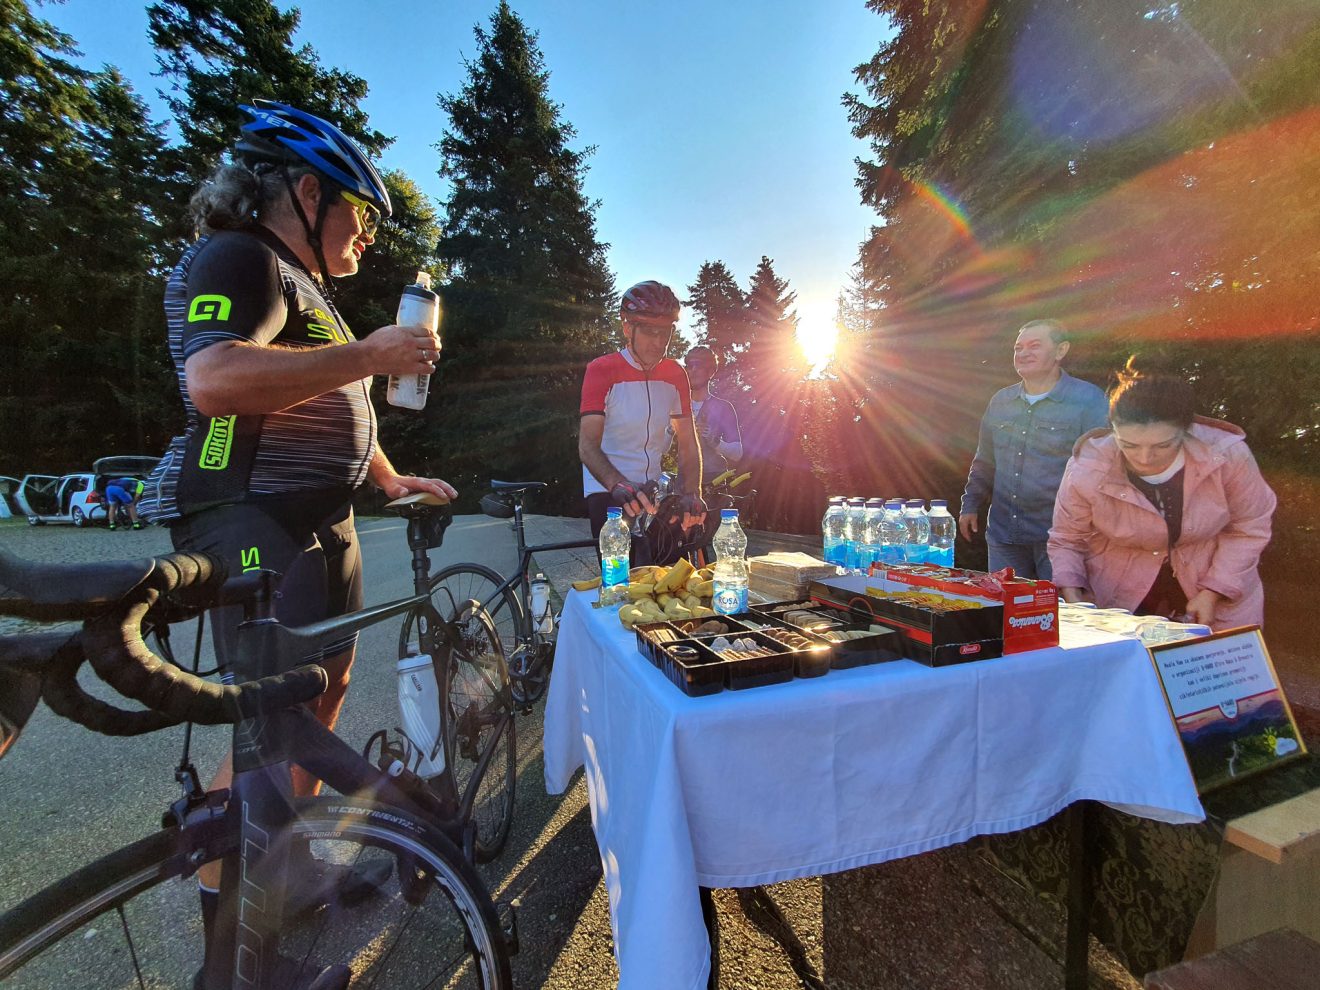
Feasting
Give the food a little bit of thought (in which case I immediately get hungry :)) – if you sit or lie down doing absolutely nothing for seven, eight or even thirteen hours in a row – I’m sure you’ll get hungry and thirsty a couple of times during that period – and in normal circumstances you will have at least one large meal during this period. Just imagine what the situation with your organism is like if during that period you are subjected to significant psychophysical effort and you don’t put any food into the system. For that reason, I always find it surprising that many people have no idea what to eat and drink while riding or if they should eat anything at all. If you go on a long ride so unprepared – it can end up fatal. Of course, you won’t “die of hunger” because of one ride, but you can very easily “bonk” and end up somewhere on a side of the road, collapsed and without the possibility of returning home on your own power.
Also, if you’re new to cycling or just ride occasionally, it may make sense to you to eat as you normally would in your daily routine – to drink some water occasionally, then stop for coffee / cola / beer when you feel thirsty, then keep riding, then stop and eat some fruit, then continue, and when you’re really hungry – stop for kebabs or some other heavy meal, eat it, wait for it to “settle down” so you can continue riding etc. I’m not a nutritionist, nor it makes sense to discuss the preferences, but it’s definitely not an adequate diet for a form of aerobic activity such as cycling.
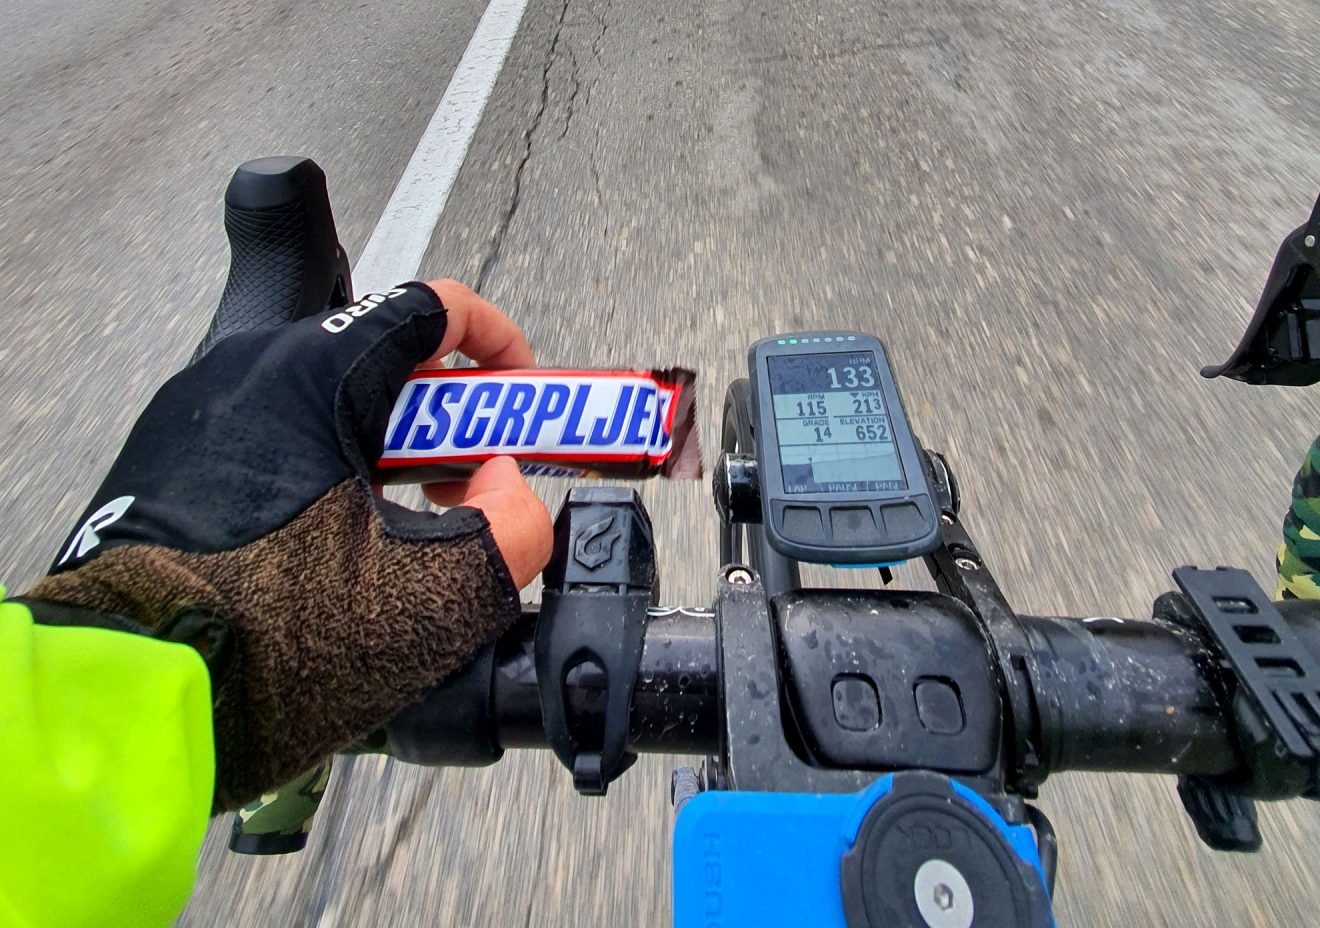
In addition, when you start feeling hungry or thirsty, then it is usually too late. After intake of food and liquids, it takes some time for the nutrients to reach the bloodstream. The point I’m trying to make is that you must not run out of fuel and you should take that fuel in regularly and often, but in small quantities – the same goes for food and liquids. So, regardless of the fact that at some point you may think you are not hungry or thirsty, try to take a bite of a banana, energy bar (this includes all cereal-based bars, protein bars, etc.) and even a bite of a sandwich. You should also regularly take a sip of liquids – and in addition to water, you should consume an isotonic or a carbohydrate drink.
However, to differentiate between classic cycling and ultradistance cycling – in classic cycling the rides are shorter and more intense and are based almost exclusively on faster carbohydrates, sugars and gels, while on brevets and other types of long-distance rides it is common for riders to eat solid food, sandwiches, pies and even the previously mentioned classic meals – as long as the periods between such significant meals are bridged by a constant intake of “fast” energy. And all this comes after a good pre-ride breakfast :).
I will not go into too much detail here, because this topic requires a special article, but I will give you an important advice – always think ahead, do not run out of food, especially liquids – use every opportunity to refill water bottles – a little bit of extra weight will not cause you a problem. In any case, it’s up to you to decide whether to carry everything you need with you from the start or to manage and replenish supplies along the way – and I’d always go with the former.
How should this all practically look “on the road”?
You have a bicycle, you have all the equipment, the food is ready, you know what awaits you, you came to the starting point and performed all the necessary procedures… but what next? Of course, you start riding but you may not be sure as to how to ride, ie. at what pace to ride and how to “distribute energy”? Cyclists generally tend to start any ride unnecessarily hard, even when it comes to brevets, so what can happen is that you fly on the wings of euphoria and you burn out in the first hour of riding and then later just try to “survive”, fight with cramps and even have to give up. So, start moderately, at your own pace and, unless you’ve explicitly agreed to ride together with someone beforehand, try to ride at your own pace and spend the time riding towards the first control point to find the right riding buddies.
At control points, some riders take shorter rests while others make longer ones, so you will probably only get into the rhythm with another rider or a group of riders after the first control point, with whom you will probably stay until the end of the ride. The unwritten rule is that if someone in such a group develops a problem, the whole group will stop and wait and of course offer help. However, if while riding with the group, that you have joined, it soon turns out that their riding rhythm does not suit you, ie. the pace as well as resting intervals don’t suit you – do not stay with them at all costs – say goodbye and continue at your own pace. Also, if you join a faster group on your own initiative, which functions great, except for you who are constantly lagging behind – don’t expect everyone to submit to your pace. Also, if someone wants to ride alone – respect their wishes, as some rides prefer to ride that way.
Tick-tock, tick-tock…
Remember – you have 13 hours and 30 minutes to successfully reach your destination. Let’s put it in a perspective – if your average speed is 20 km/h, which is very low by any standard, it still leaves you 3 and a half hours for various stops and breaks. However, you should also keep in mind that the control points have certain opening and closing times, so you usually won’t be able to ride the first 100 km extremely fast, then pause for “half a day” and then crush the remaining 100 km again – no.
In general, keep in mind that the clock is constantly ticking, that you can’t make up for minutes spent in vain by riding faster and that the time goes by quickest when you are not riding. By this statement I am not implying that you should rush to complete the ride as soon as possible. On the contrary – take a break whenever you need to but also make it as short as required for you to do what you need to do – whether it’s getting your brevet card stamped, going to a toilet, taking photos, having lunch, doing sightseeing, swimming in a lake or just having a need to lie down on a meadow to rest – do what you need to do, just be efficient! There is no worse way of wasting your time than sitting in a cafe and browsing social networks on your phone, because after a while you won’t be able to force yourself to continue riding and your muscles will have cooled down completely in the meantime… Remember the fable about the turtle and the rabbit – be the turtle. Not necessarily a ninja turtle – an ordinary one will be enough :).
I mention this because it is very important that you always have some time in reserve, instead of constantly arriving at control points at the very last moment. In the latter case – just one puncture, a passing storm or some other circumstance can prevent you from successfully completing the ride. And another piece of time-saving advice – if you’re riding with a colleague or in a small group of riders – when reaching control points, organize yourself in a way so that one person carries the brevet cards for stamping, the other person goes to a toilet, the third one purchases necessary groceries etc.
“No pain – no gain”
Unless you often do 100 to 150 km long rides, be prepared for many side effects on a 200 km ride, during which all the issues with your seating position on the bike, equipment and even your (lack of) fitness will surface up. By this I mean that you can get saddle sores or that a piece of clothing might irritate you by constantly rubbing you at the same point, as well as a possibility of various pain in the knees, ligaments, ankles, shoulders, neck, muscle cramps, tingling in the hands and so on.
Never go on rides like this with untested equipment, which you just bought or installed on your bike the night before. Also, occasionally alter your position on the saddle and often get out of the saddle in order to distribute the pressure on your bottom but also to delegate work to different groups of muscles. To prevent saddle sores, use a cycling-specific “chamois” cream or some other adequate product, like child creme. In addition, I can only remind you once again of the importance of keeping regular food intake and hydration, to always be focused and aware of what is going on around you, because you are not alone in traffic and – last but not least – to enjoy the ride, the scenery, socialising with other riders and achieving your goal!
I hope that this article will serve you as a kind of a guide on how to ride a 200 km brevet and make it easier for you – both in the preparations for the ride as well as for the ride itself – that we will hang out on one of the brevet rides organised by me… and that we will see each other again in the next article – about riding a 300 km long brevet.